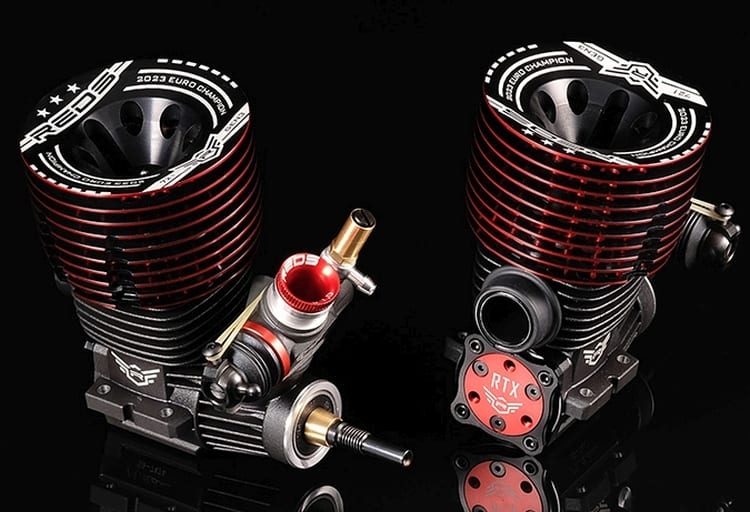
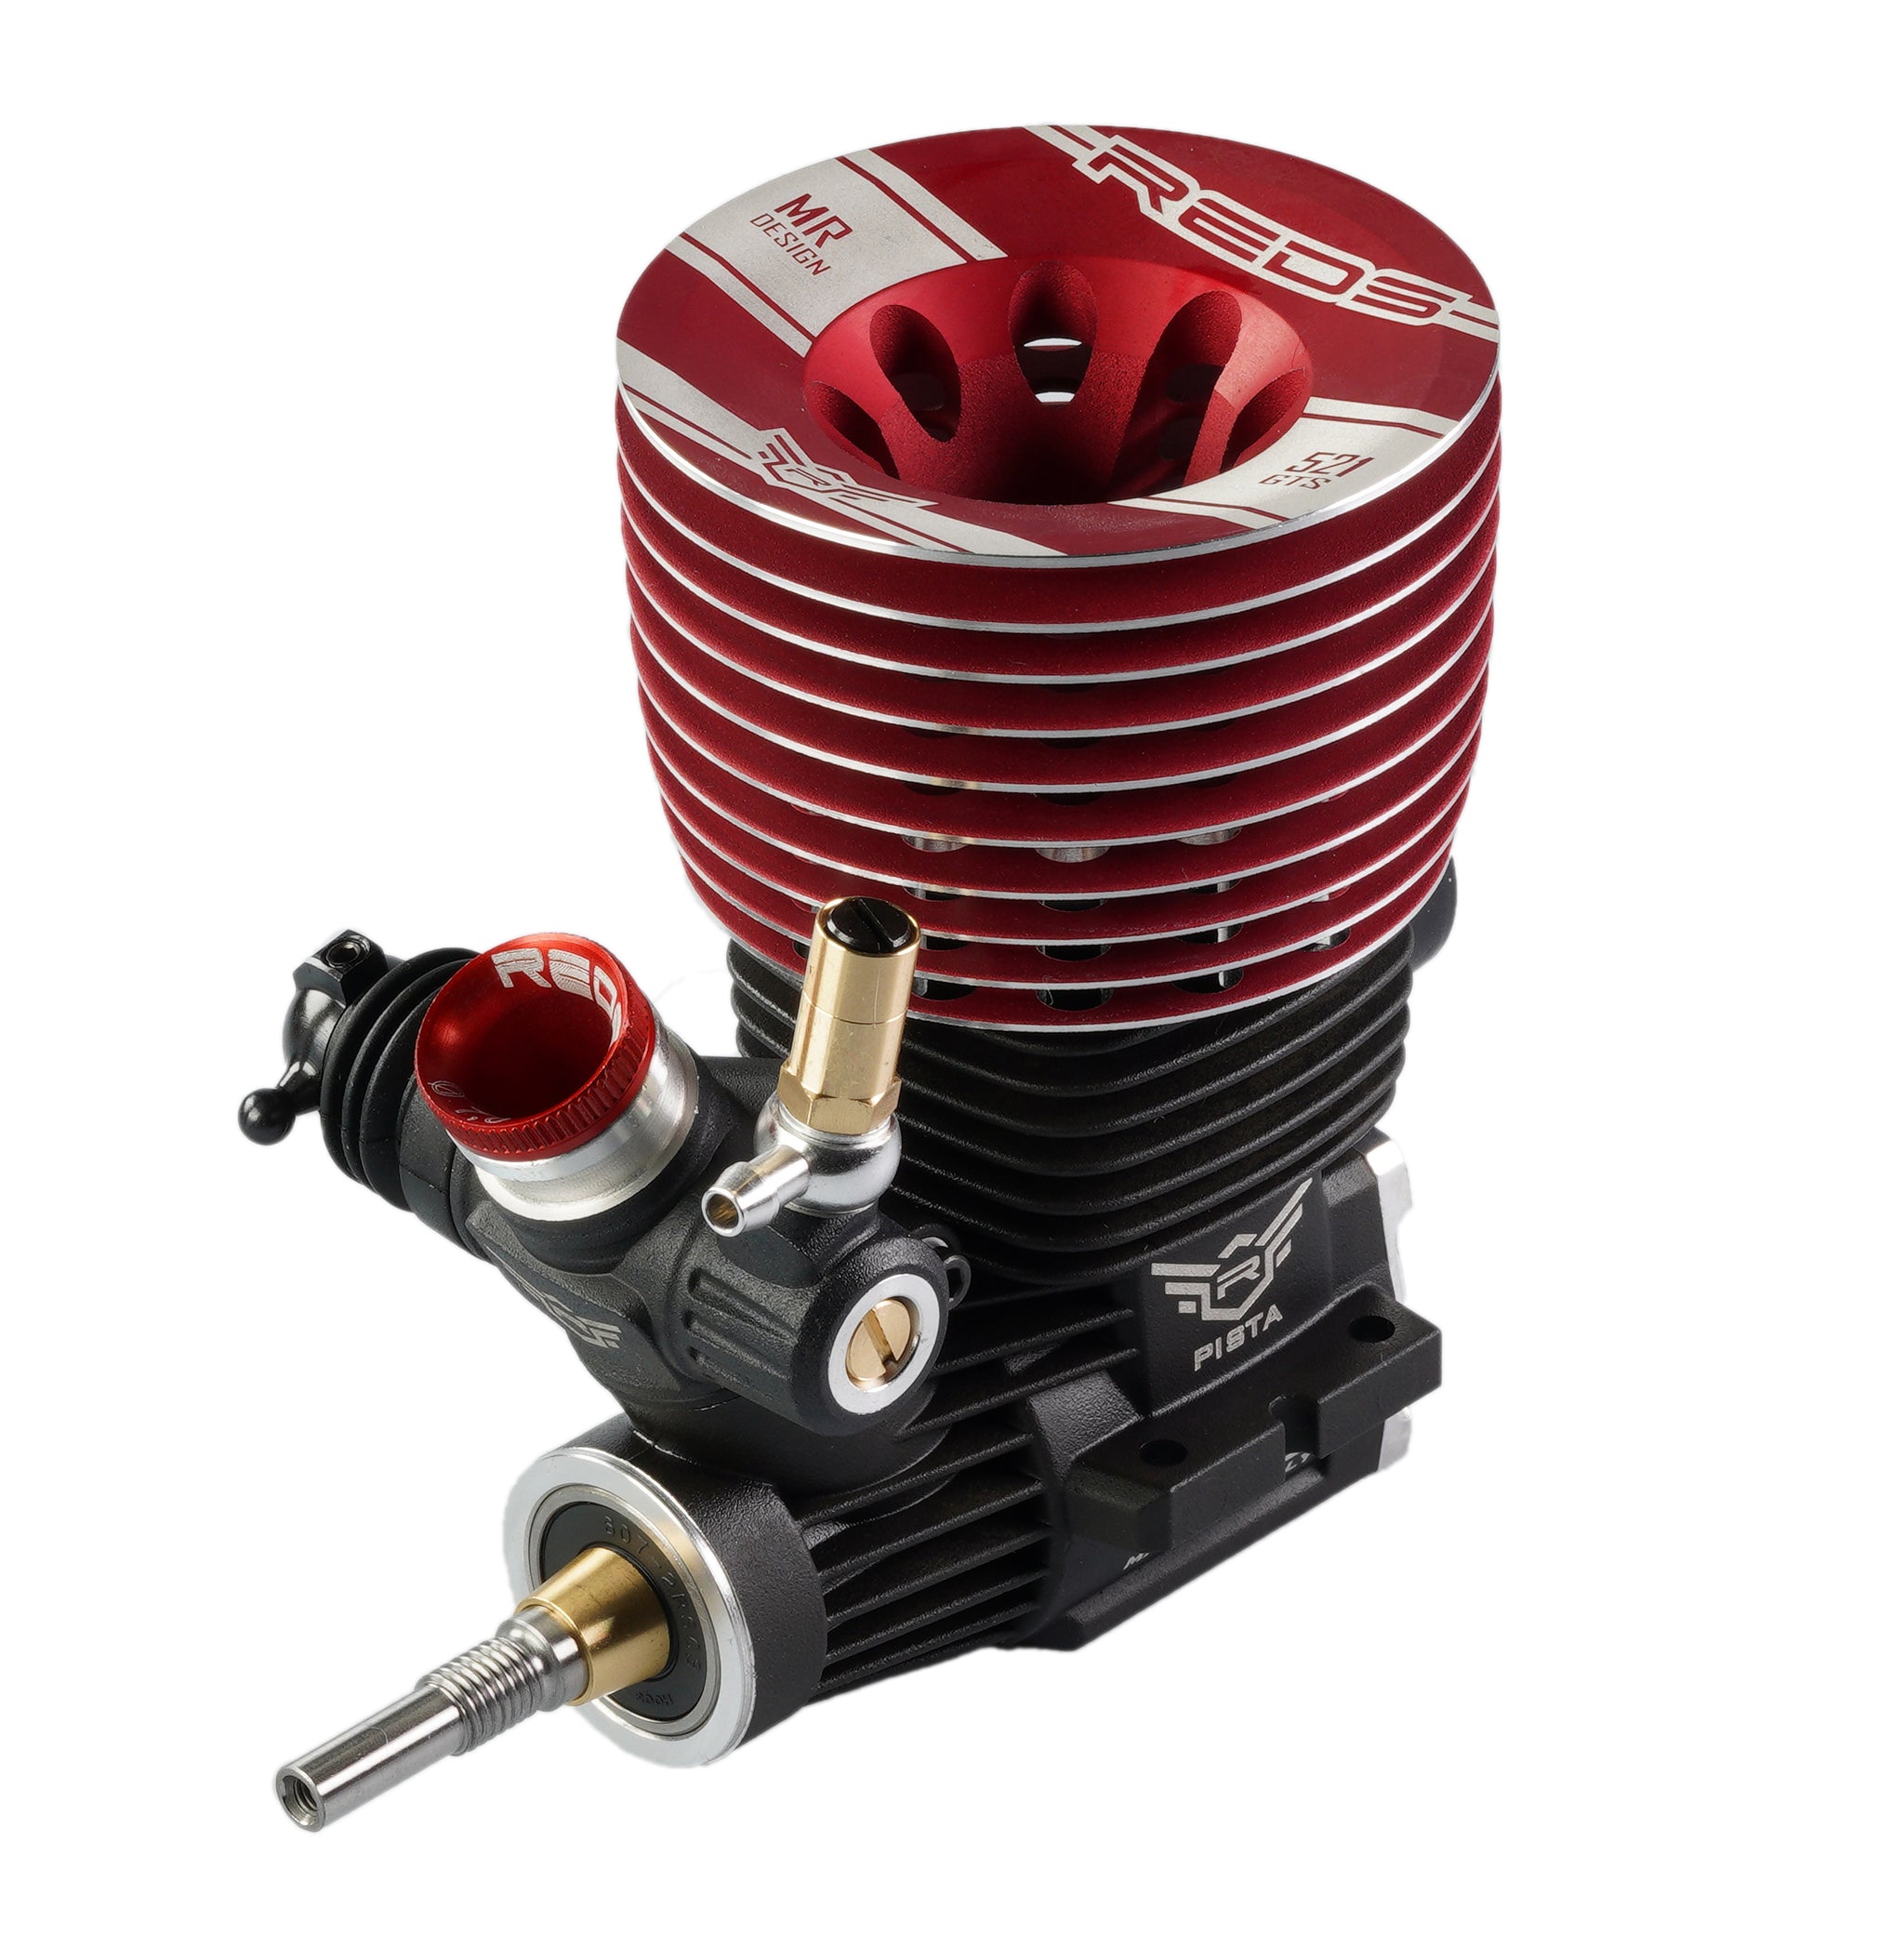
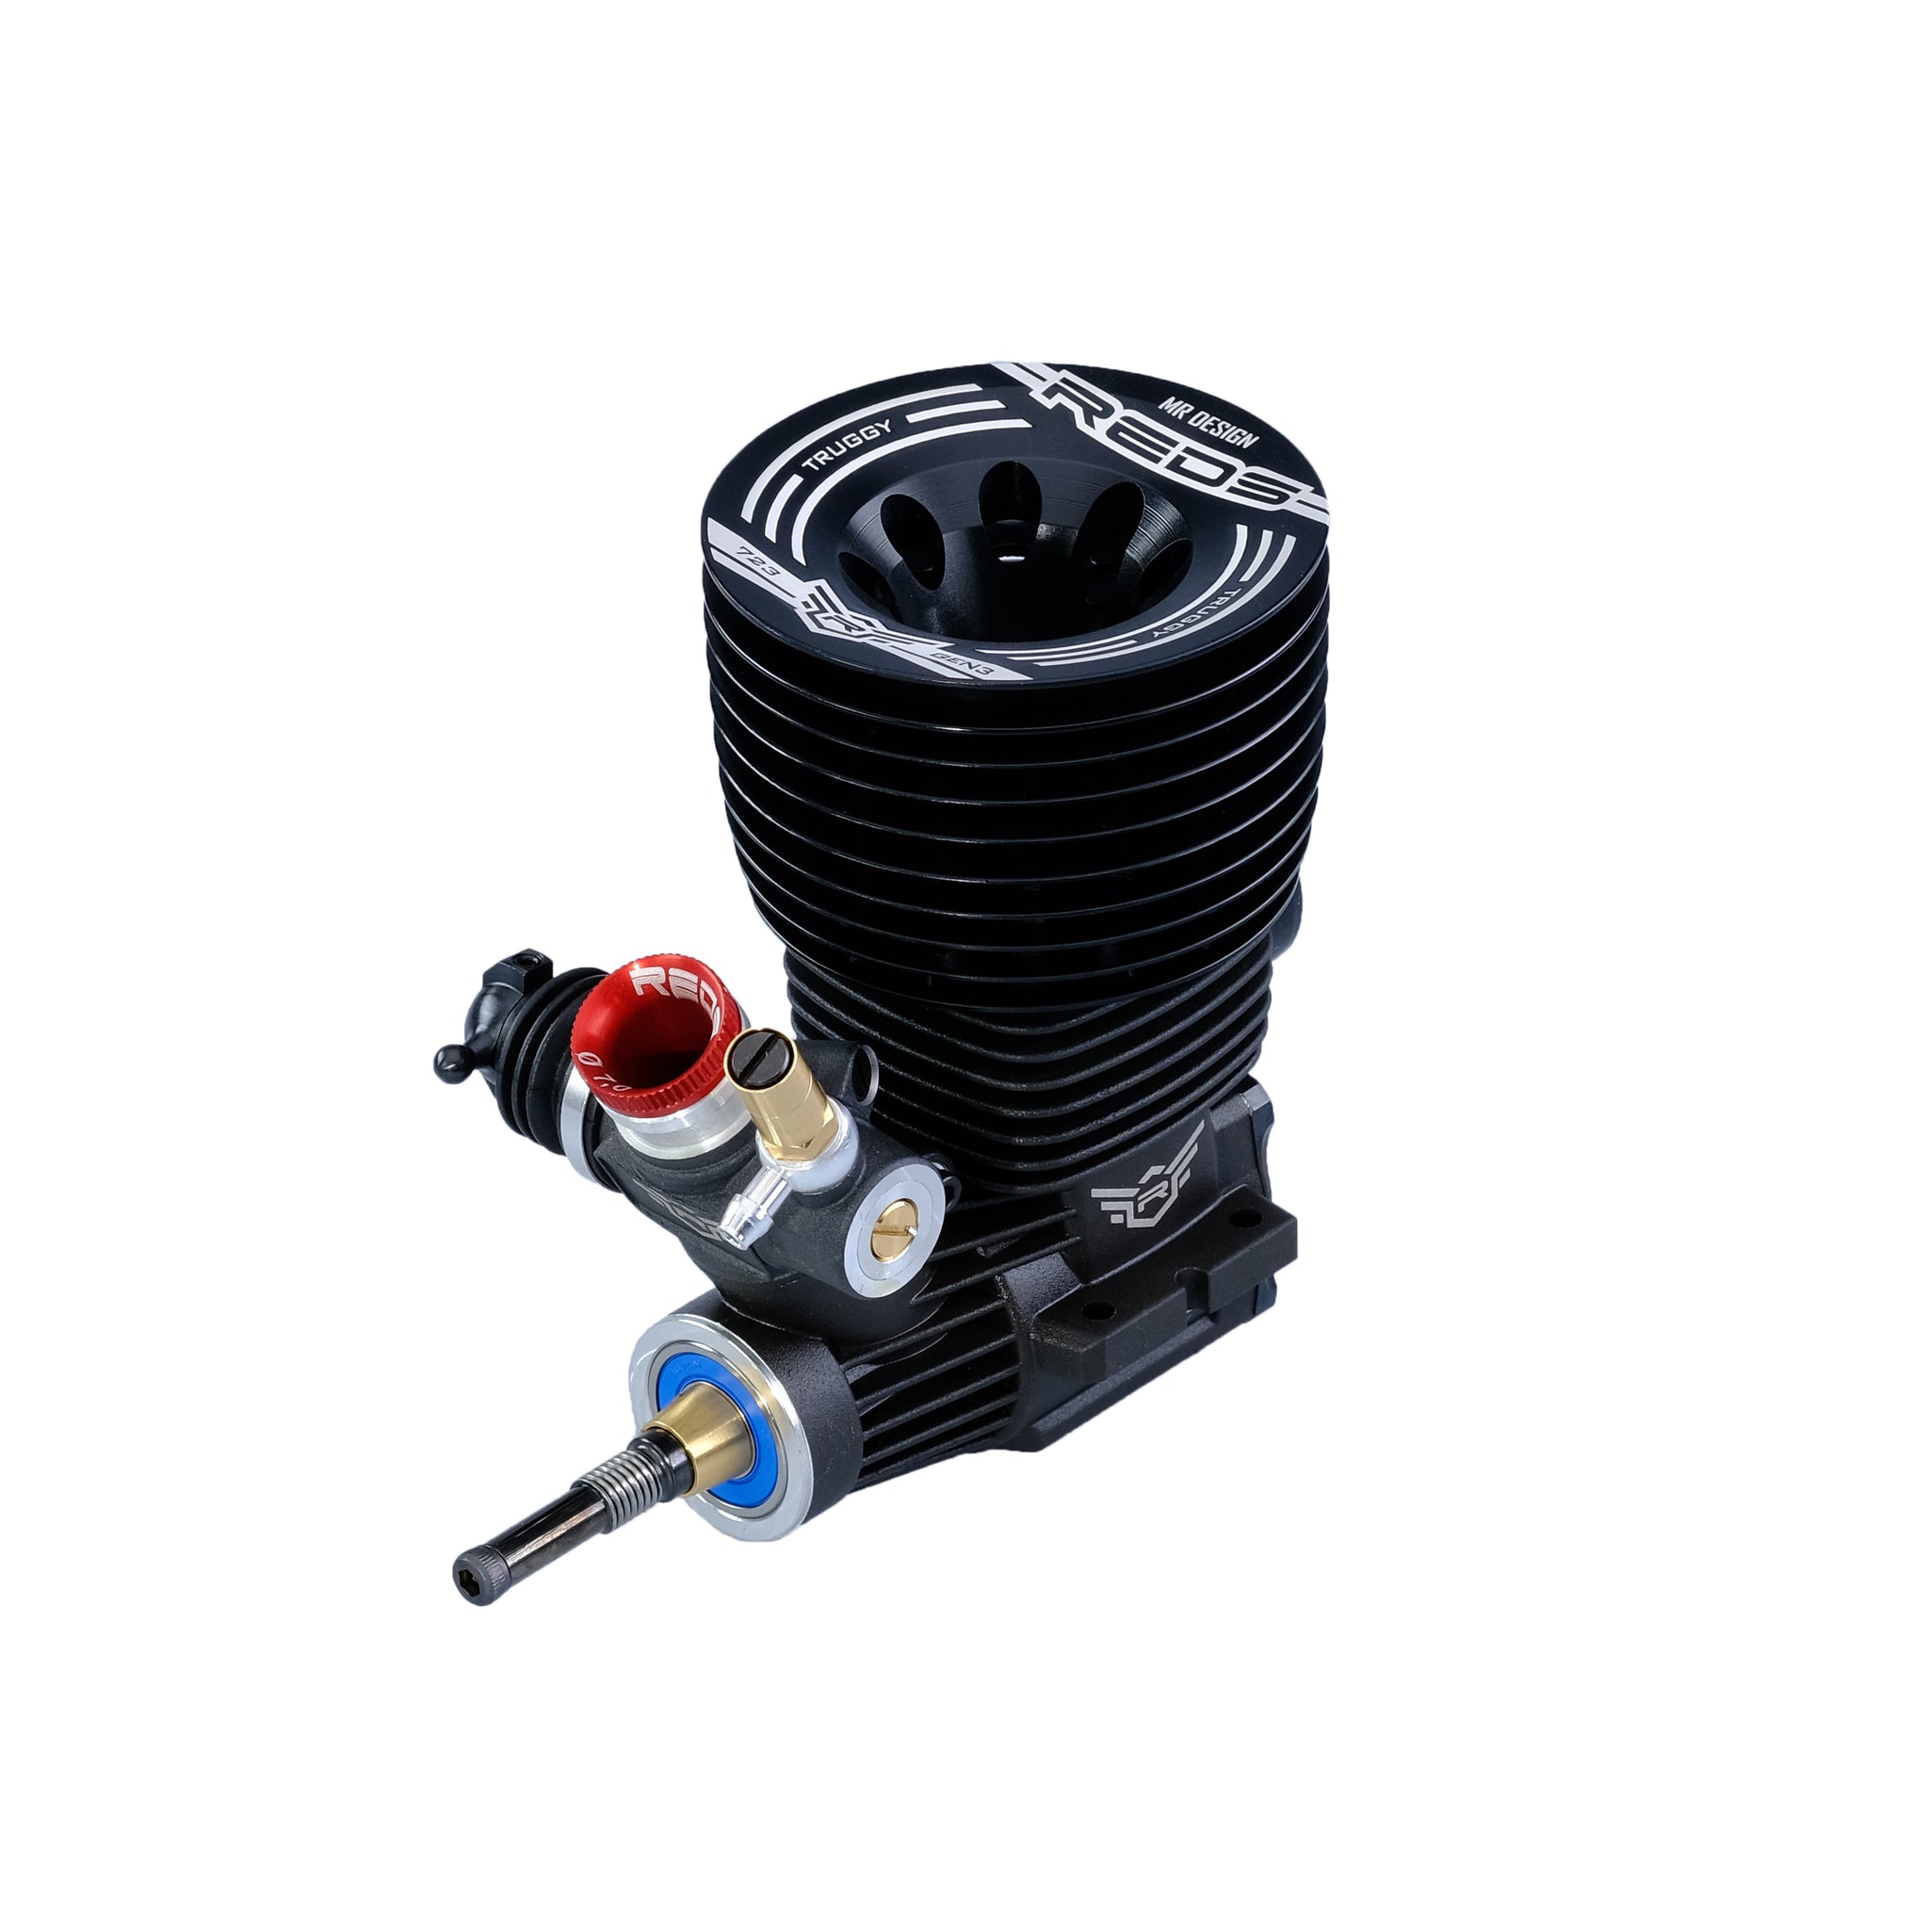
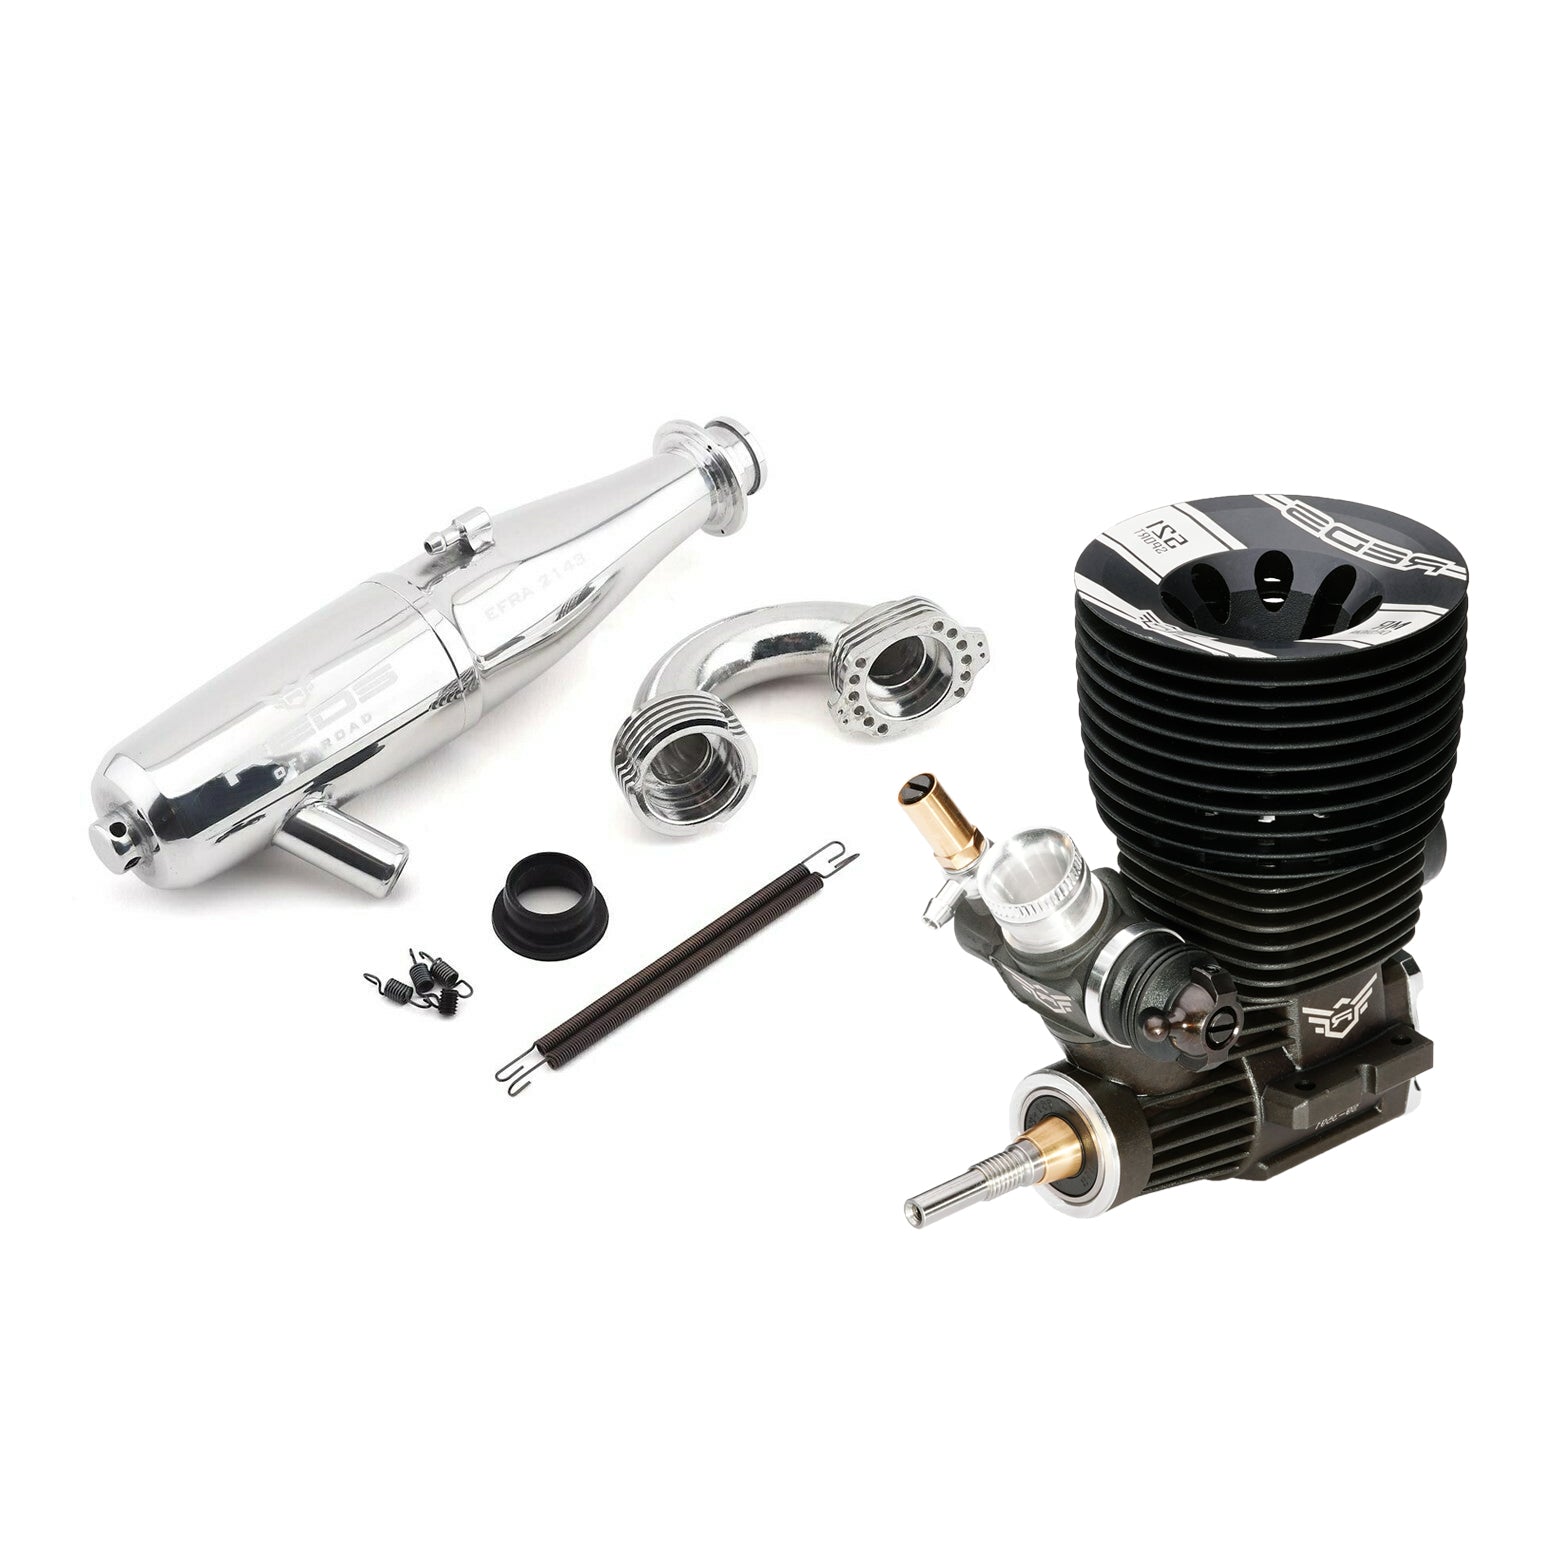
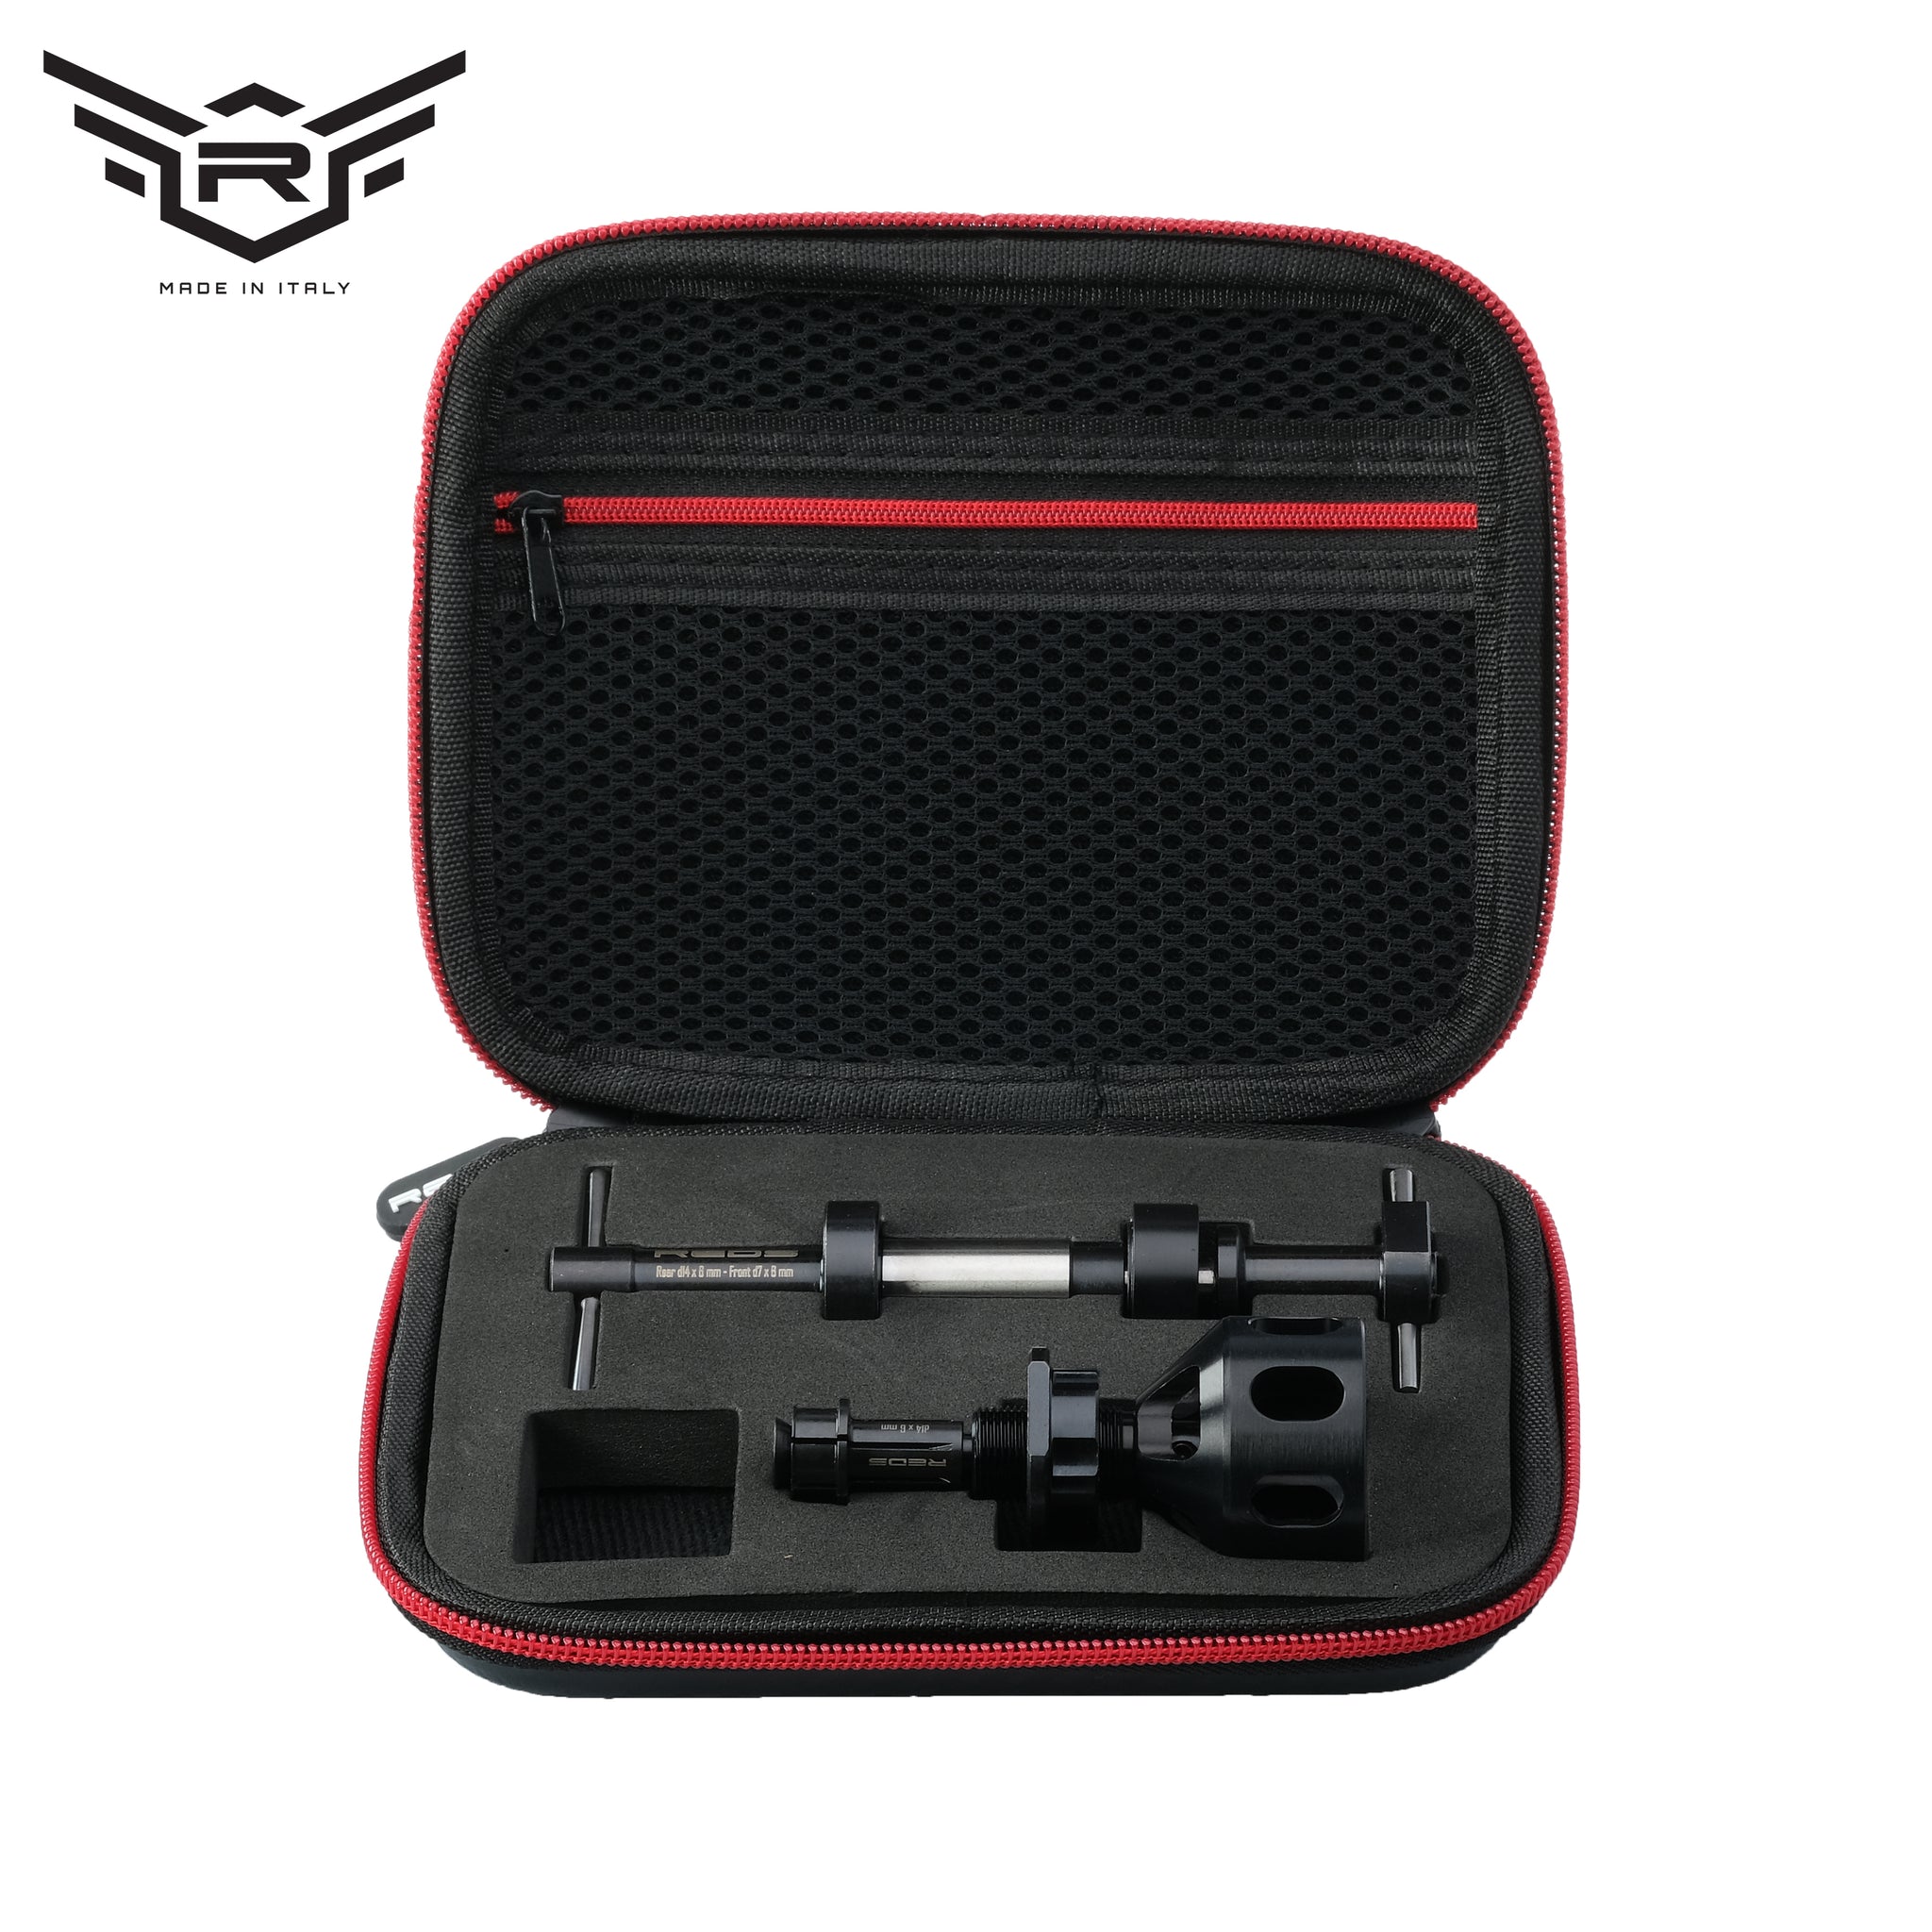
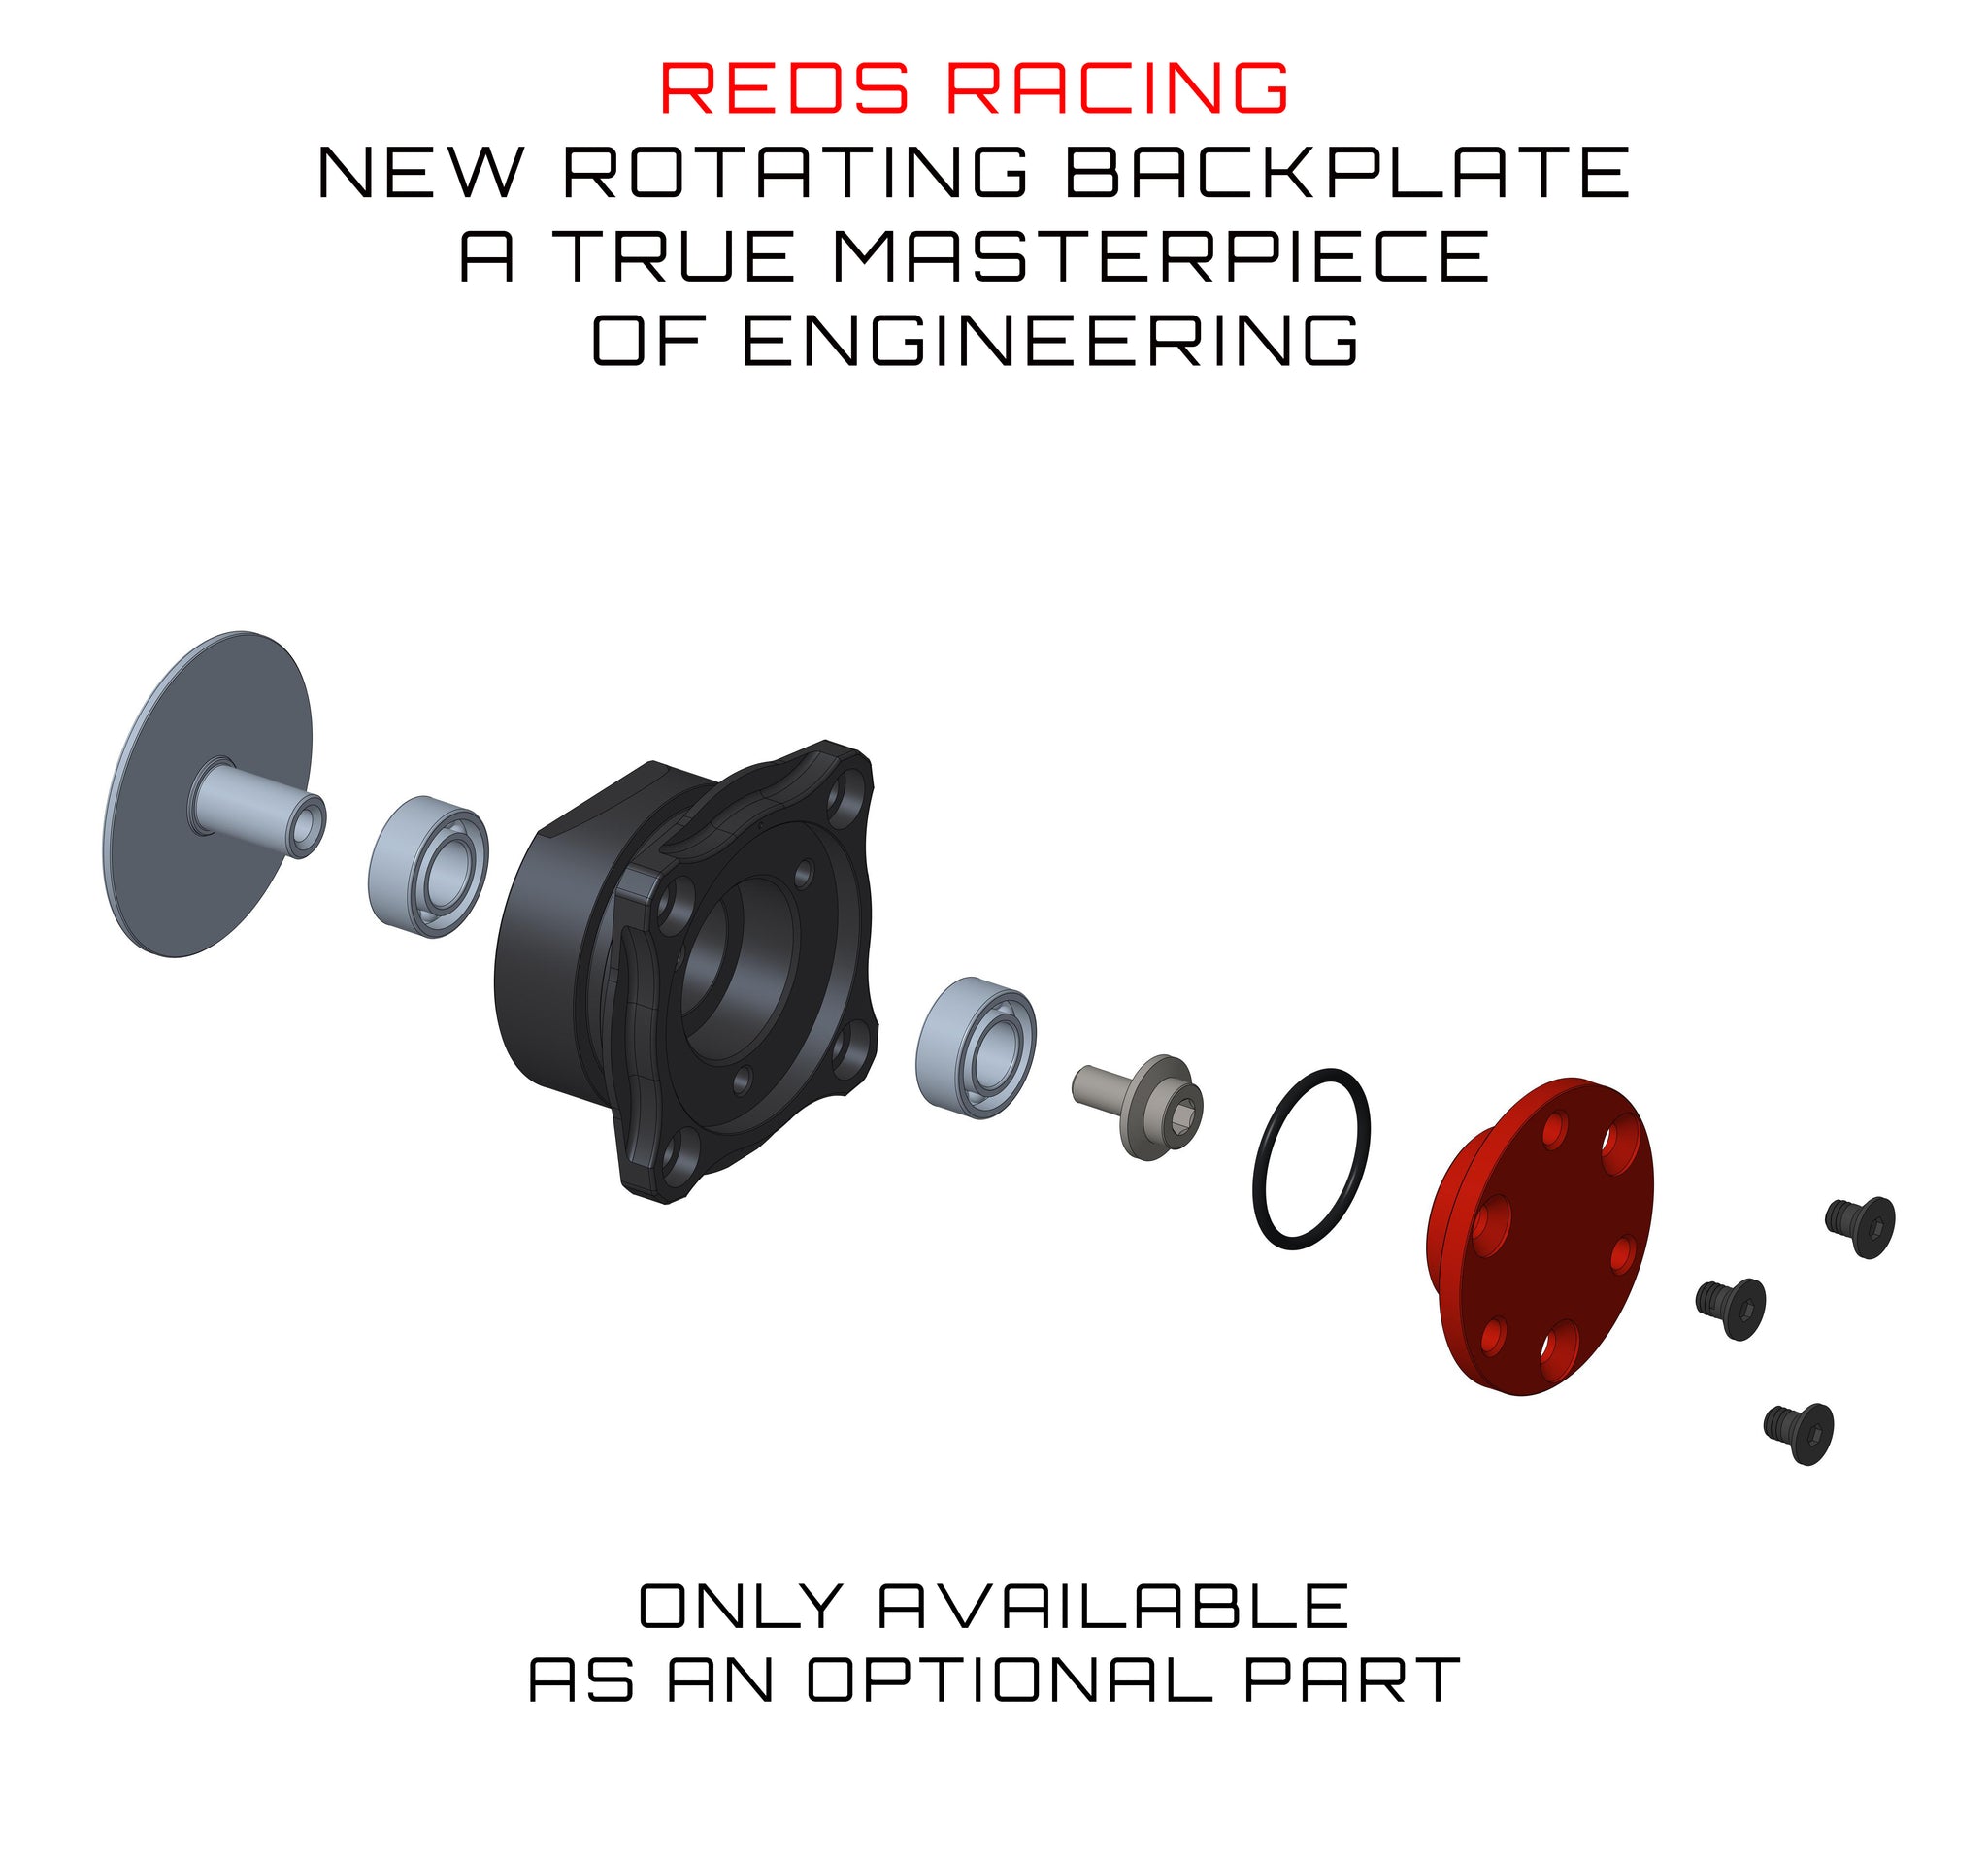
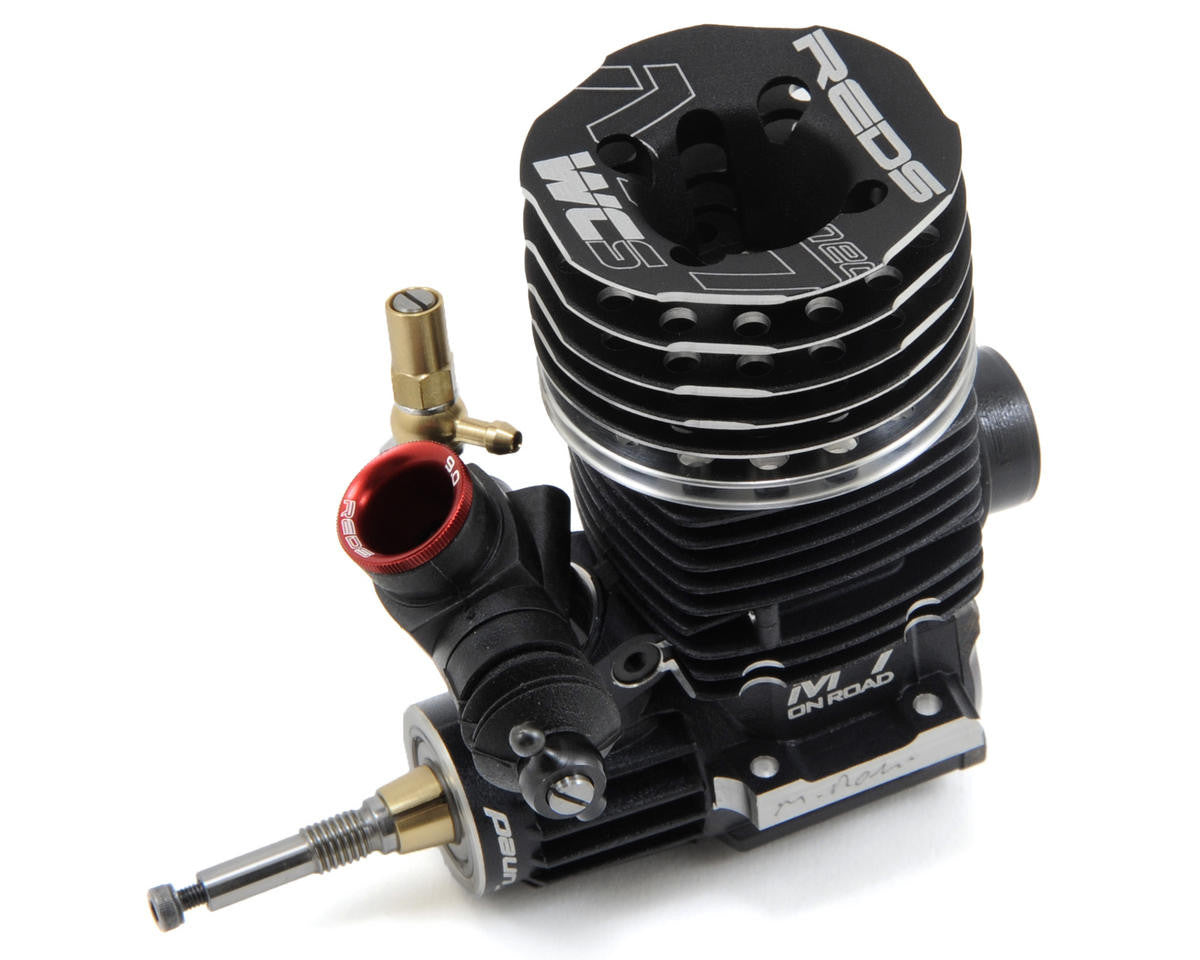
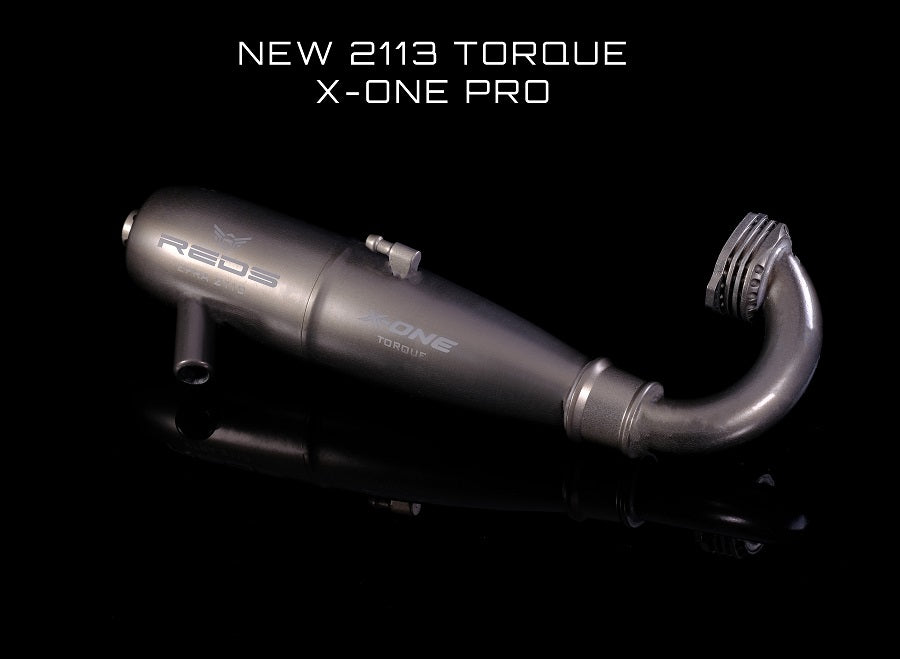
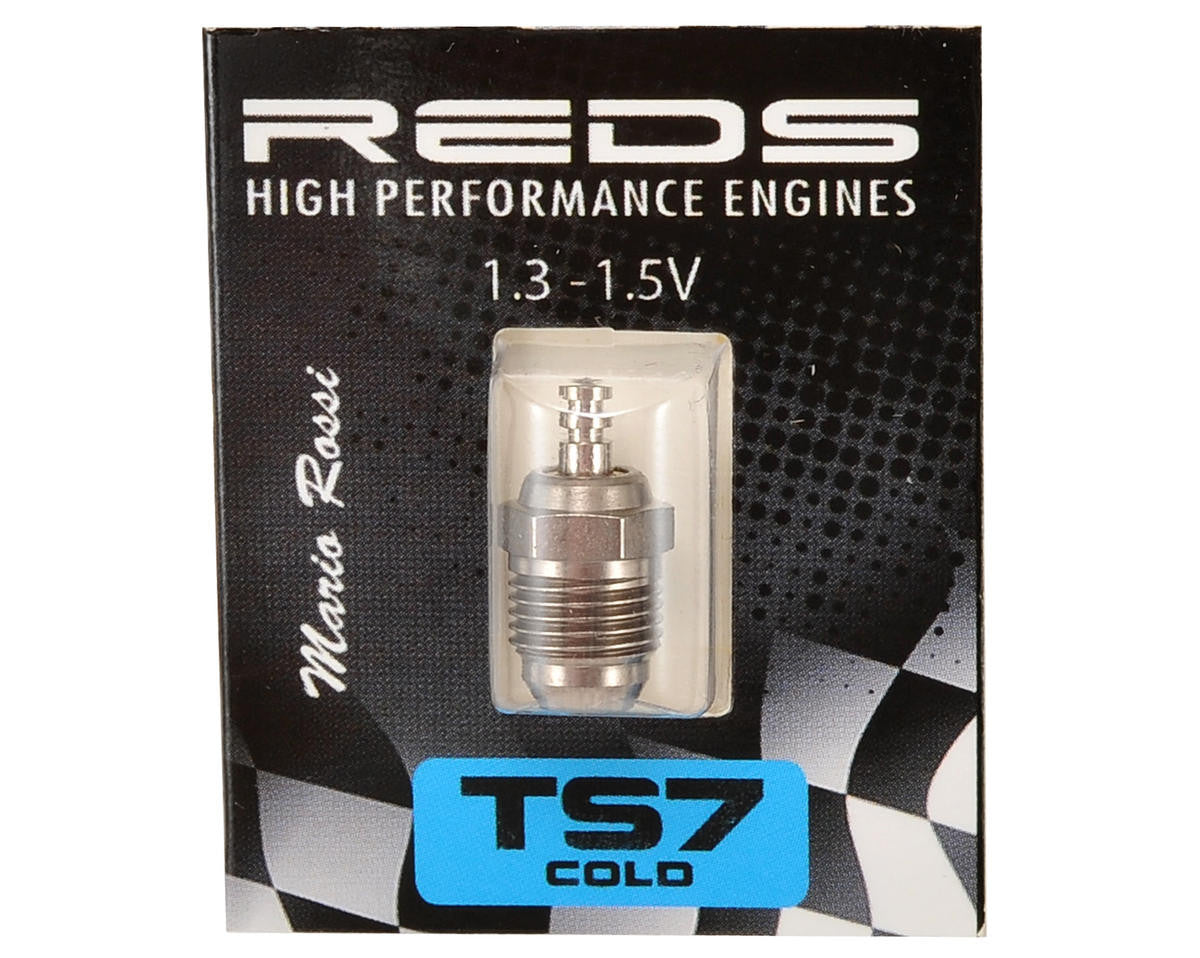
Nitro Engines
Our engines have a Break-in option performed @ the Reds Racing factory

REDS RACING OIL BATH BREAK-IN
RC Nitro Engines require specific break-in procedures representing a critical step that will affect their future life and performance. For this reason REDS Racing is pleased to offer the possibility of a safe and professional break-in procedure that suits all REDS engines: Pre break-in service by Mario Rossi which needs to be concluded on the racetrack.
THE BREAK-IN SERVICE EXPLAINED
With over 40 years experience in Nitro Engines and RC Nitro racing, Mario Rossi has developed a blend of oil and a process for breaking-in nitro engines using the Oil Bath Lapping Machines. The pre break-in process saves time, fuel and increases the performance over the traditional break-in process. Hard work and commitment has earned the trust of many of the world’s top drivers. The same pre break-in service used by Elliott Boots, Juan Carlos Canas, Cole Ogden, Marco Baruffolo, Leonardo Valente, Mason Fuller and many others.
Reds Racing oil bath break-in is applicable to all types of 1/10 and 1/8, On and Off Road RC Nitro Engines.
POST OIL BATH BREAK-IN INSTRUCTION
Thank you for choosing Reds Racing engines! After we complete the Reds Racing Break-In service there are a few steps that you will need to do to ensure a long and healthy life of your engine. These post lapping instructions have been tuned to give your REDS engine maximum life and performance.
STEP 1 - FIRST START
Start the engine. The carburettor comes already adjusted, but you might need to make slight adjustments depending on your fuel, car, weather, and altitude, but overall the setting will be very similar.
Use a 12% break in fuel or add 2% Castor oil (alternatively a castor based blend) to normal racing fuel. Let the engine idle and heat saturate for the first tank tank 1.
During this time you can fine-tune the idle adjustment and slowly apply the throttle to burn out any excess assembly oil.
STEP 2 - FINAL BREAK IN
Start running the car on the track or in a parking lot. The engine should be crisp on bottom to mid, but still slightly rich on top. At the completion of tank 2, let the engine cool down with the piston at bottom dead center.
Tank 3 and 4, continue running on the track for 2 tanks. You can lean out the high speed needle staying on the rich side. Stop the engine and make sure the piston is at the bottom dead center.
Tank 5 and 6, continue running on the track. At this point you should be pretty close to race tune with the high speed needle slightly rich to provide proper lubrication. The engine will continue to improve and gain run-time over the next 1 gallon (4 litres), but you should be ready to go racing.